https://www.youtube.com/embed/fWB8xnLan68
Kids describing what THEY imagine. The kids are the experts in what they imagine!
Give your students time to imagine and describe before rushing to make a product.
With teaching artist Susanna Brock
In this video lesson Teaching artist Susanna Brock uses the shapes to 1) inspire physical expression 2) make animal characters and 3) create shadow puppets!
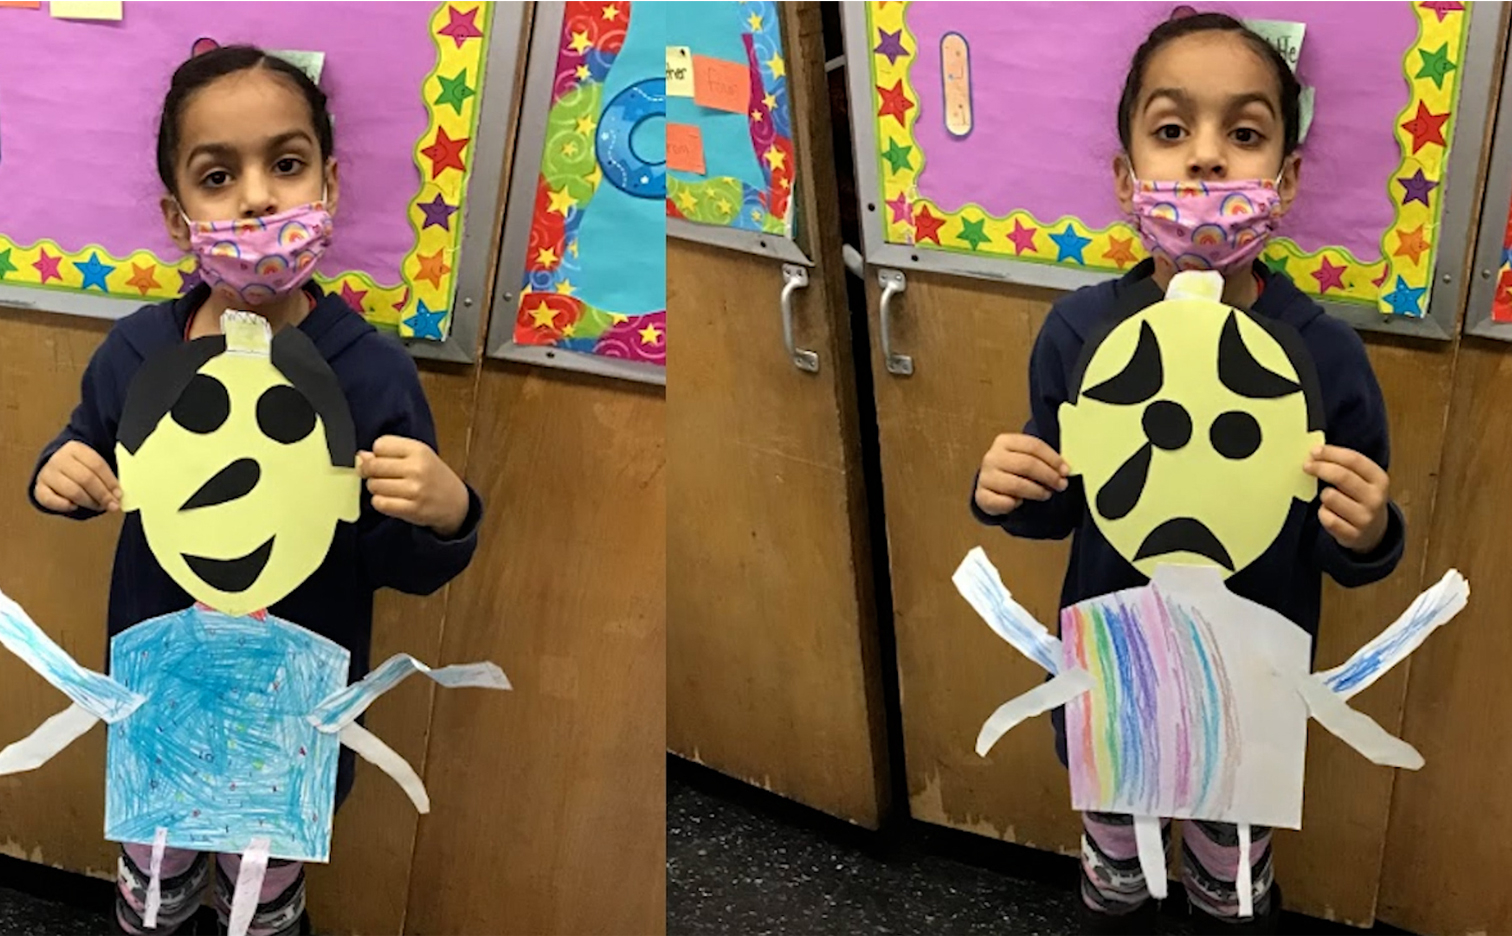
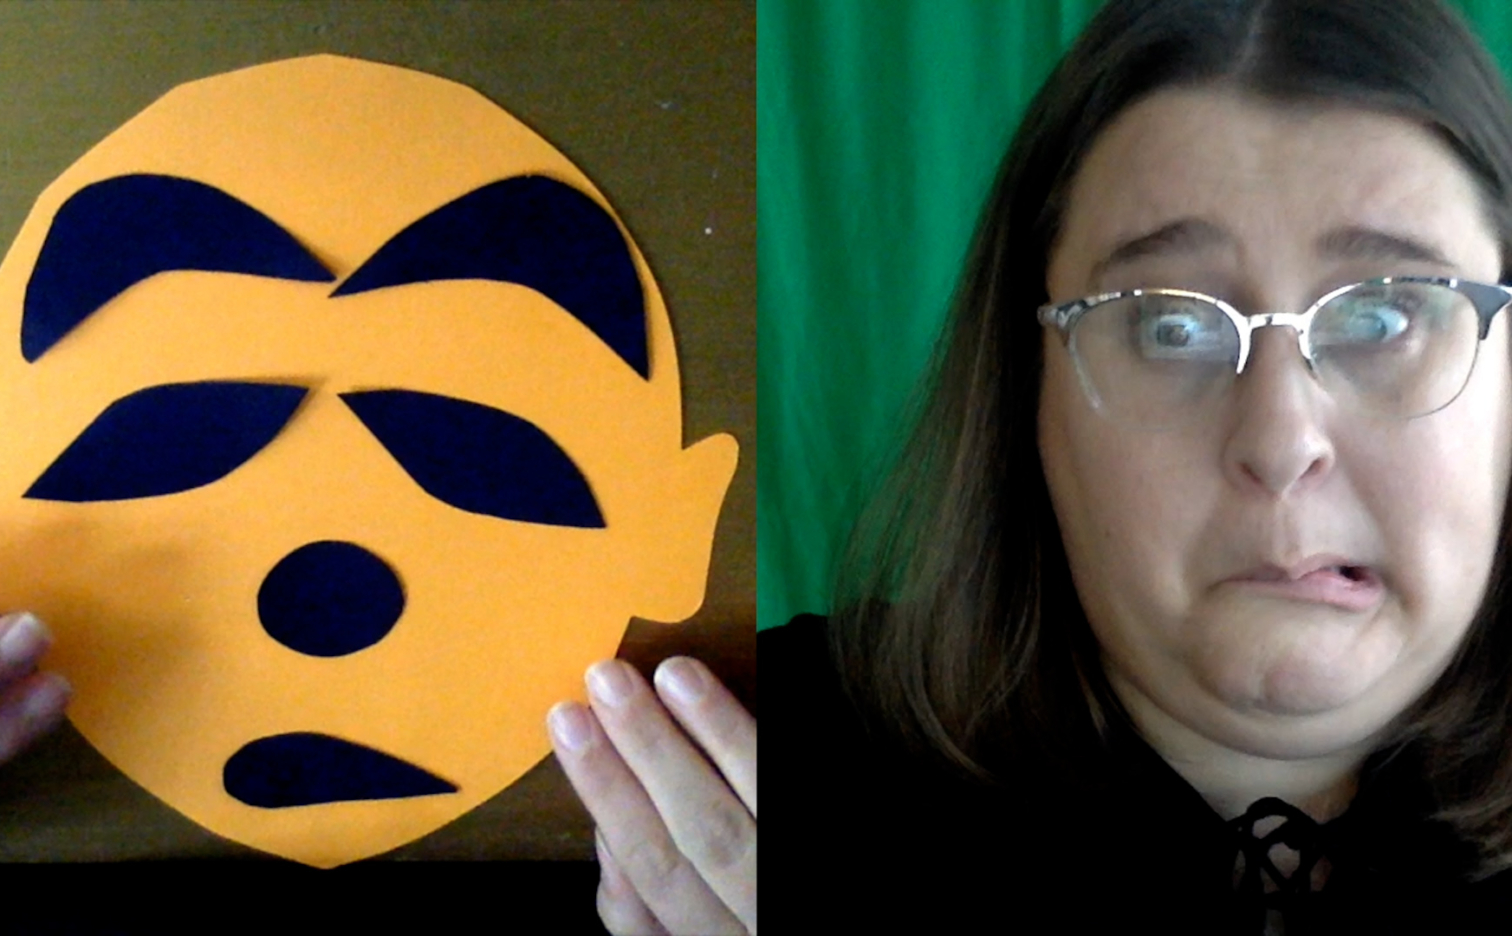
“…We discussed & charted how these characters’ emotions changed throughout the story. Students selected a specific character and showed two different emotions. Before creating these emotions, we acted them out with our faces & bodies. Focusing on the faces, we discussed how the selection of the shapes, space & direction changes the em...

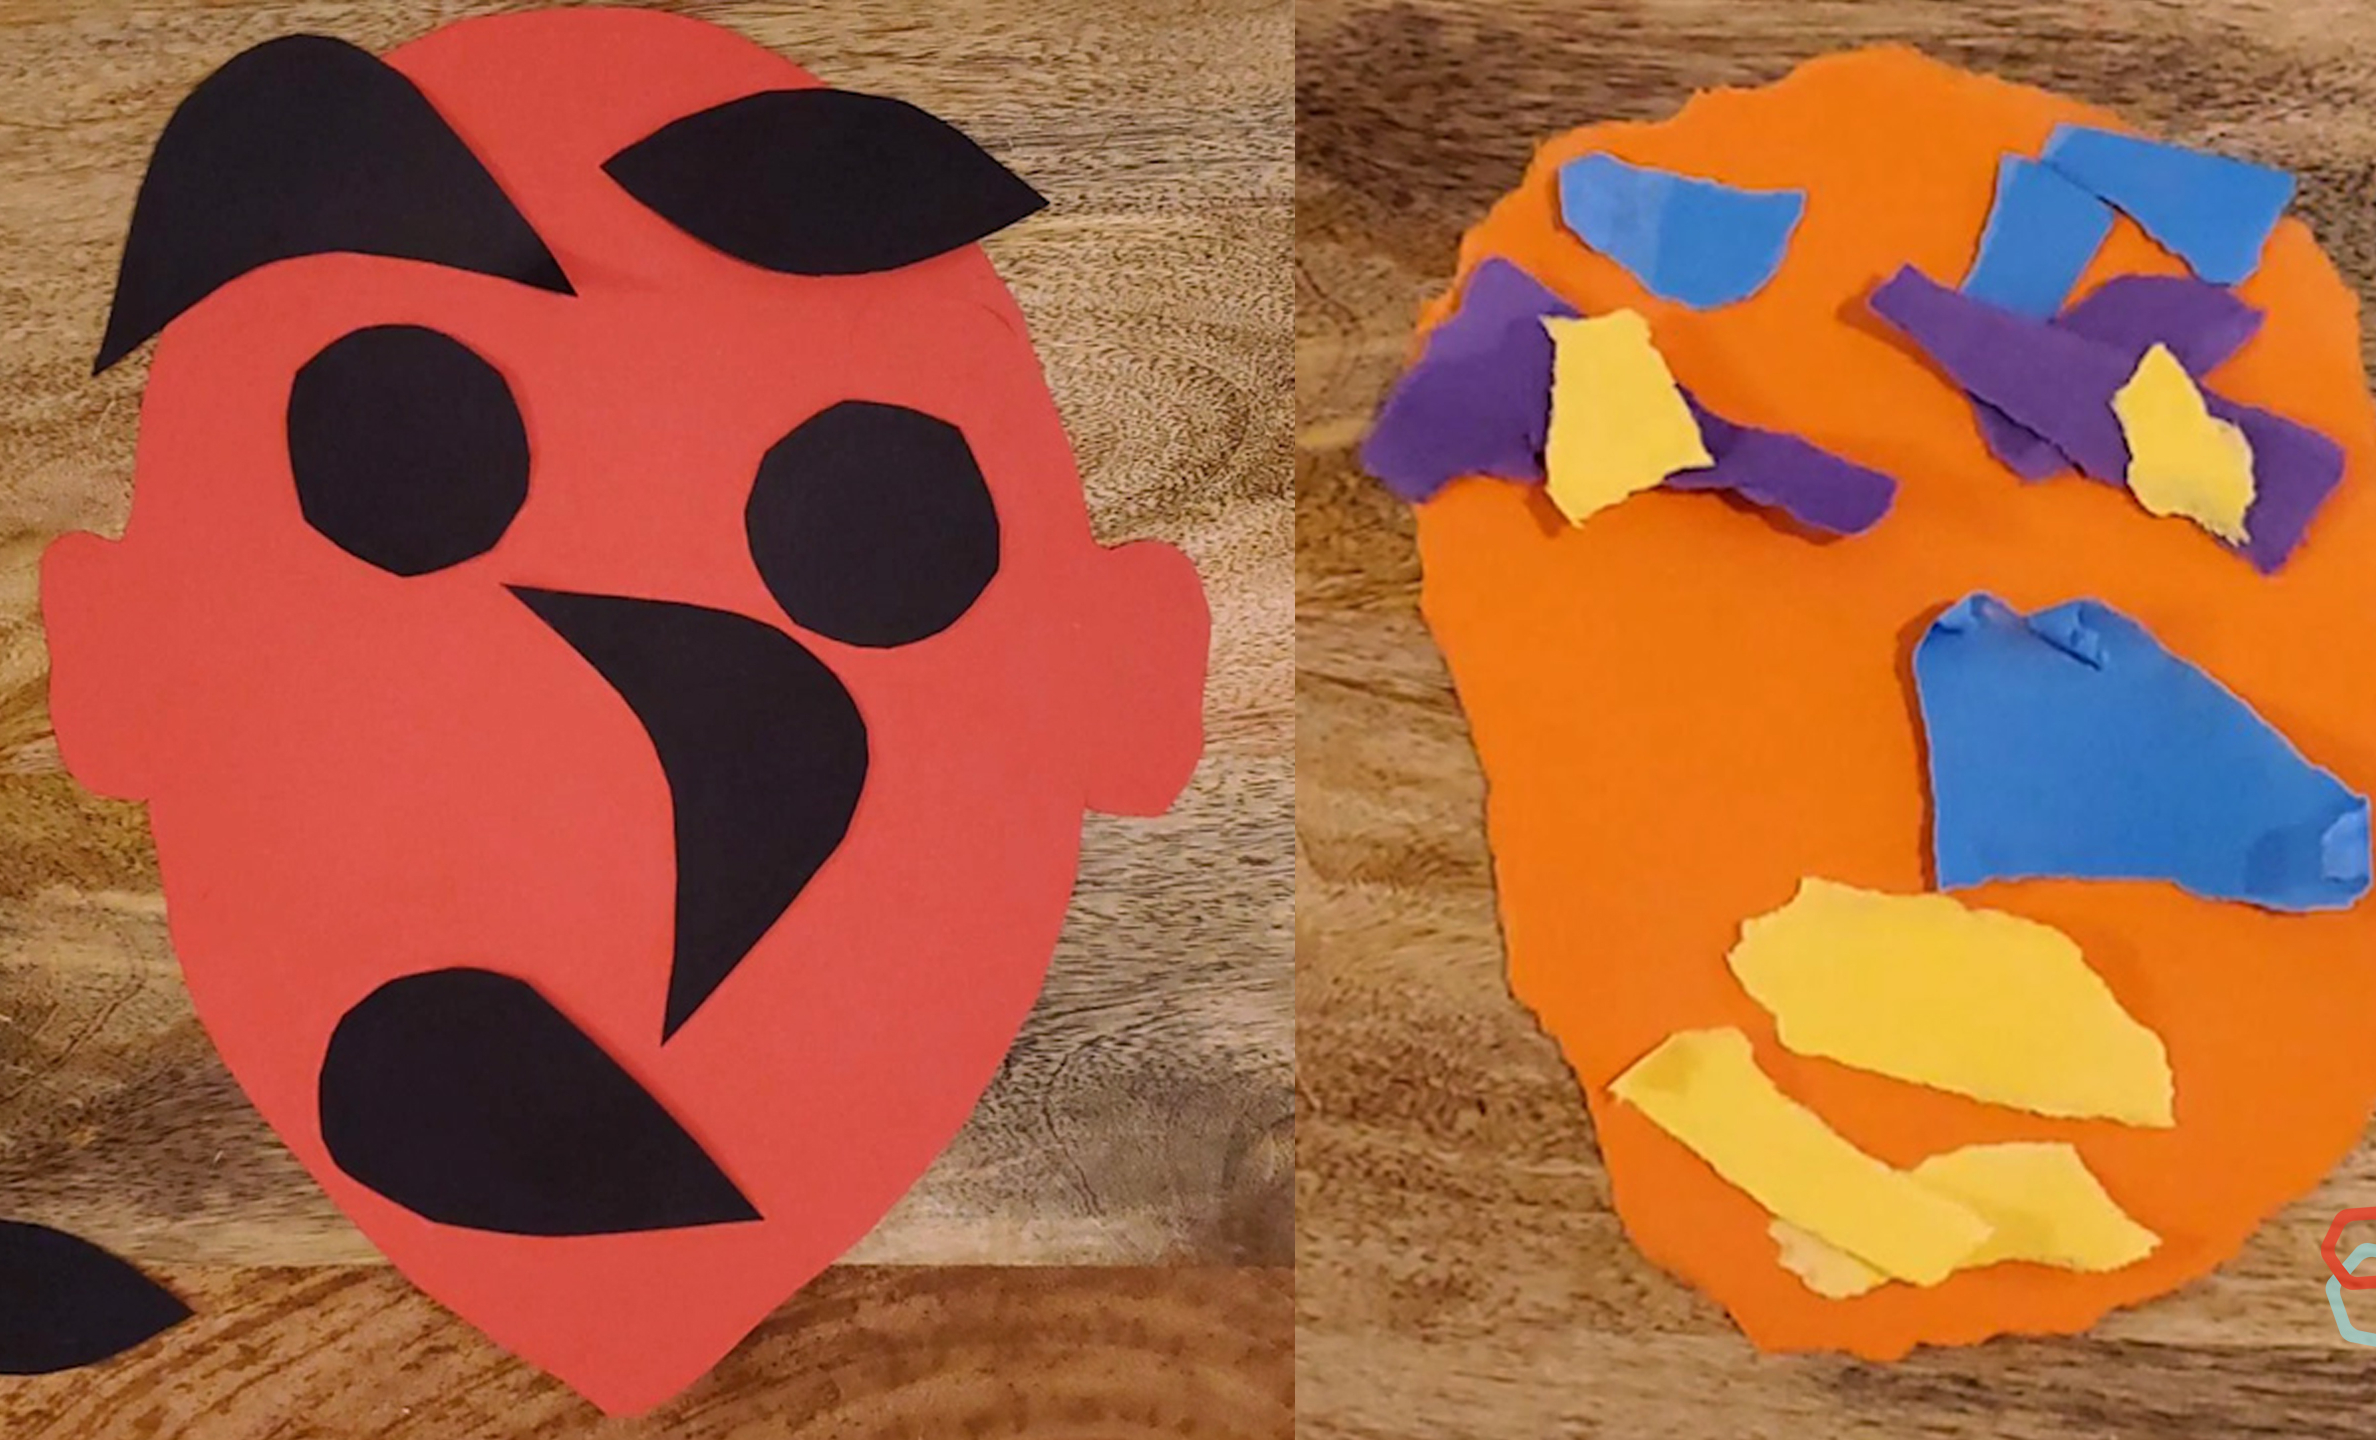
Option 1- Collage a two faced puppet
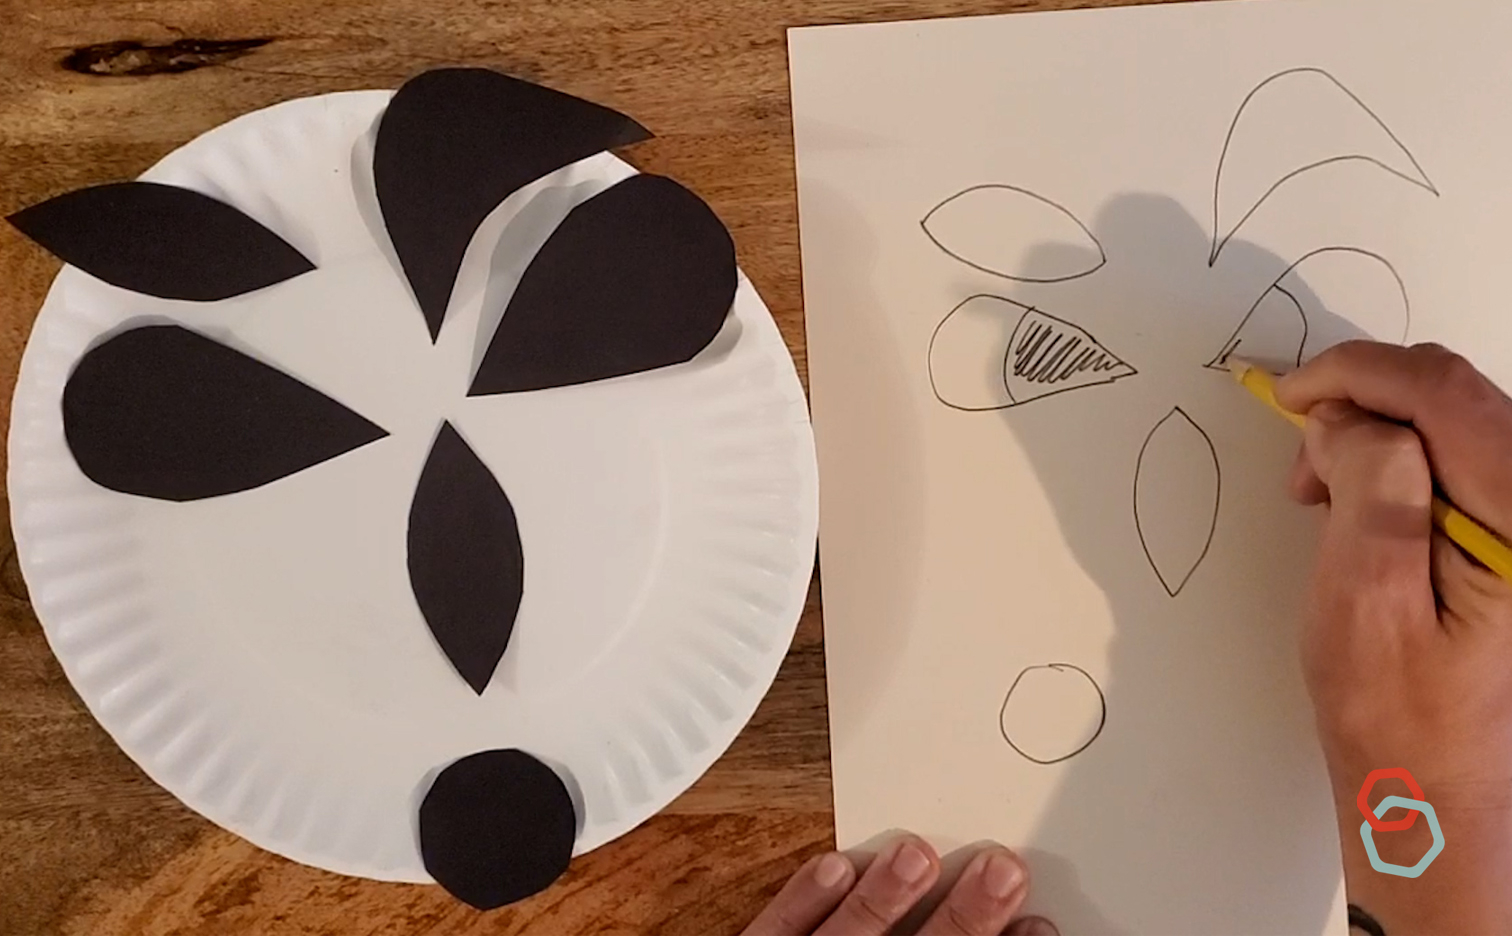
If your students are collaging a 2-faced puppet we recommend you prep 3-5 of each of the five shapes to have enough for each child to make 2 faces.
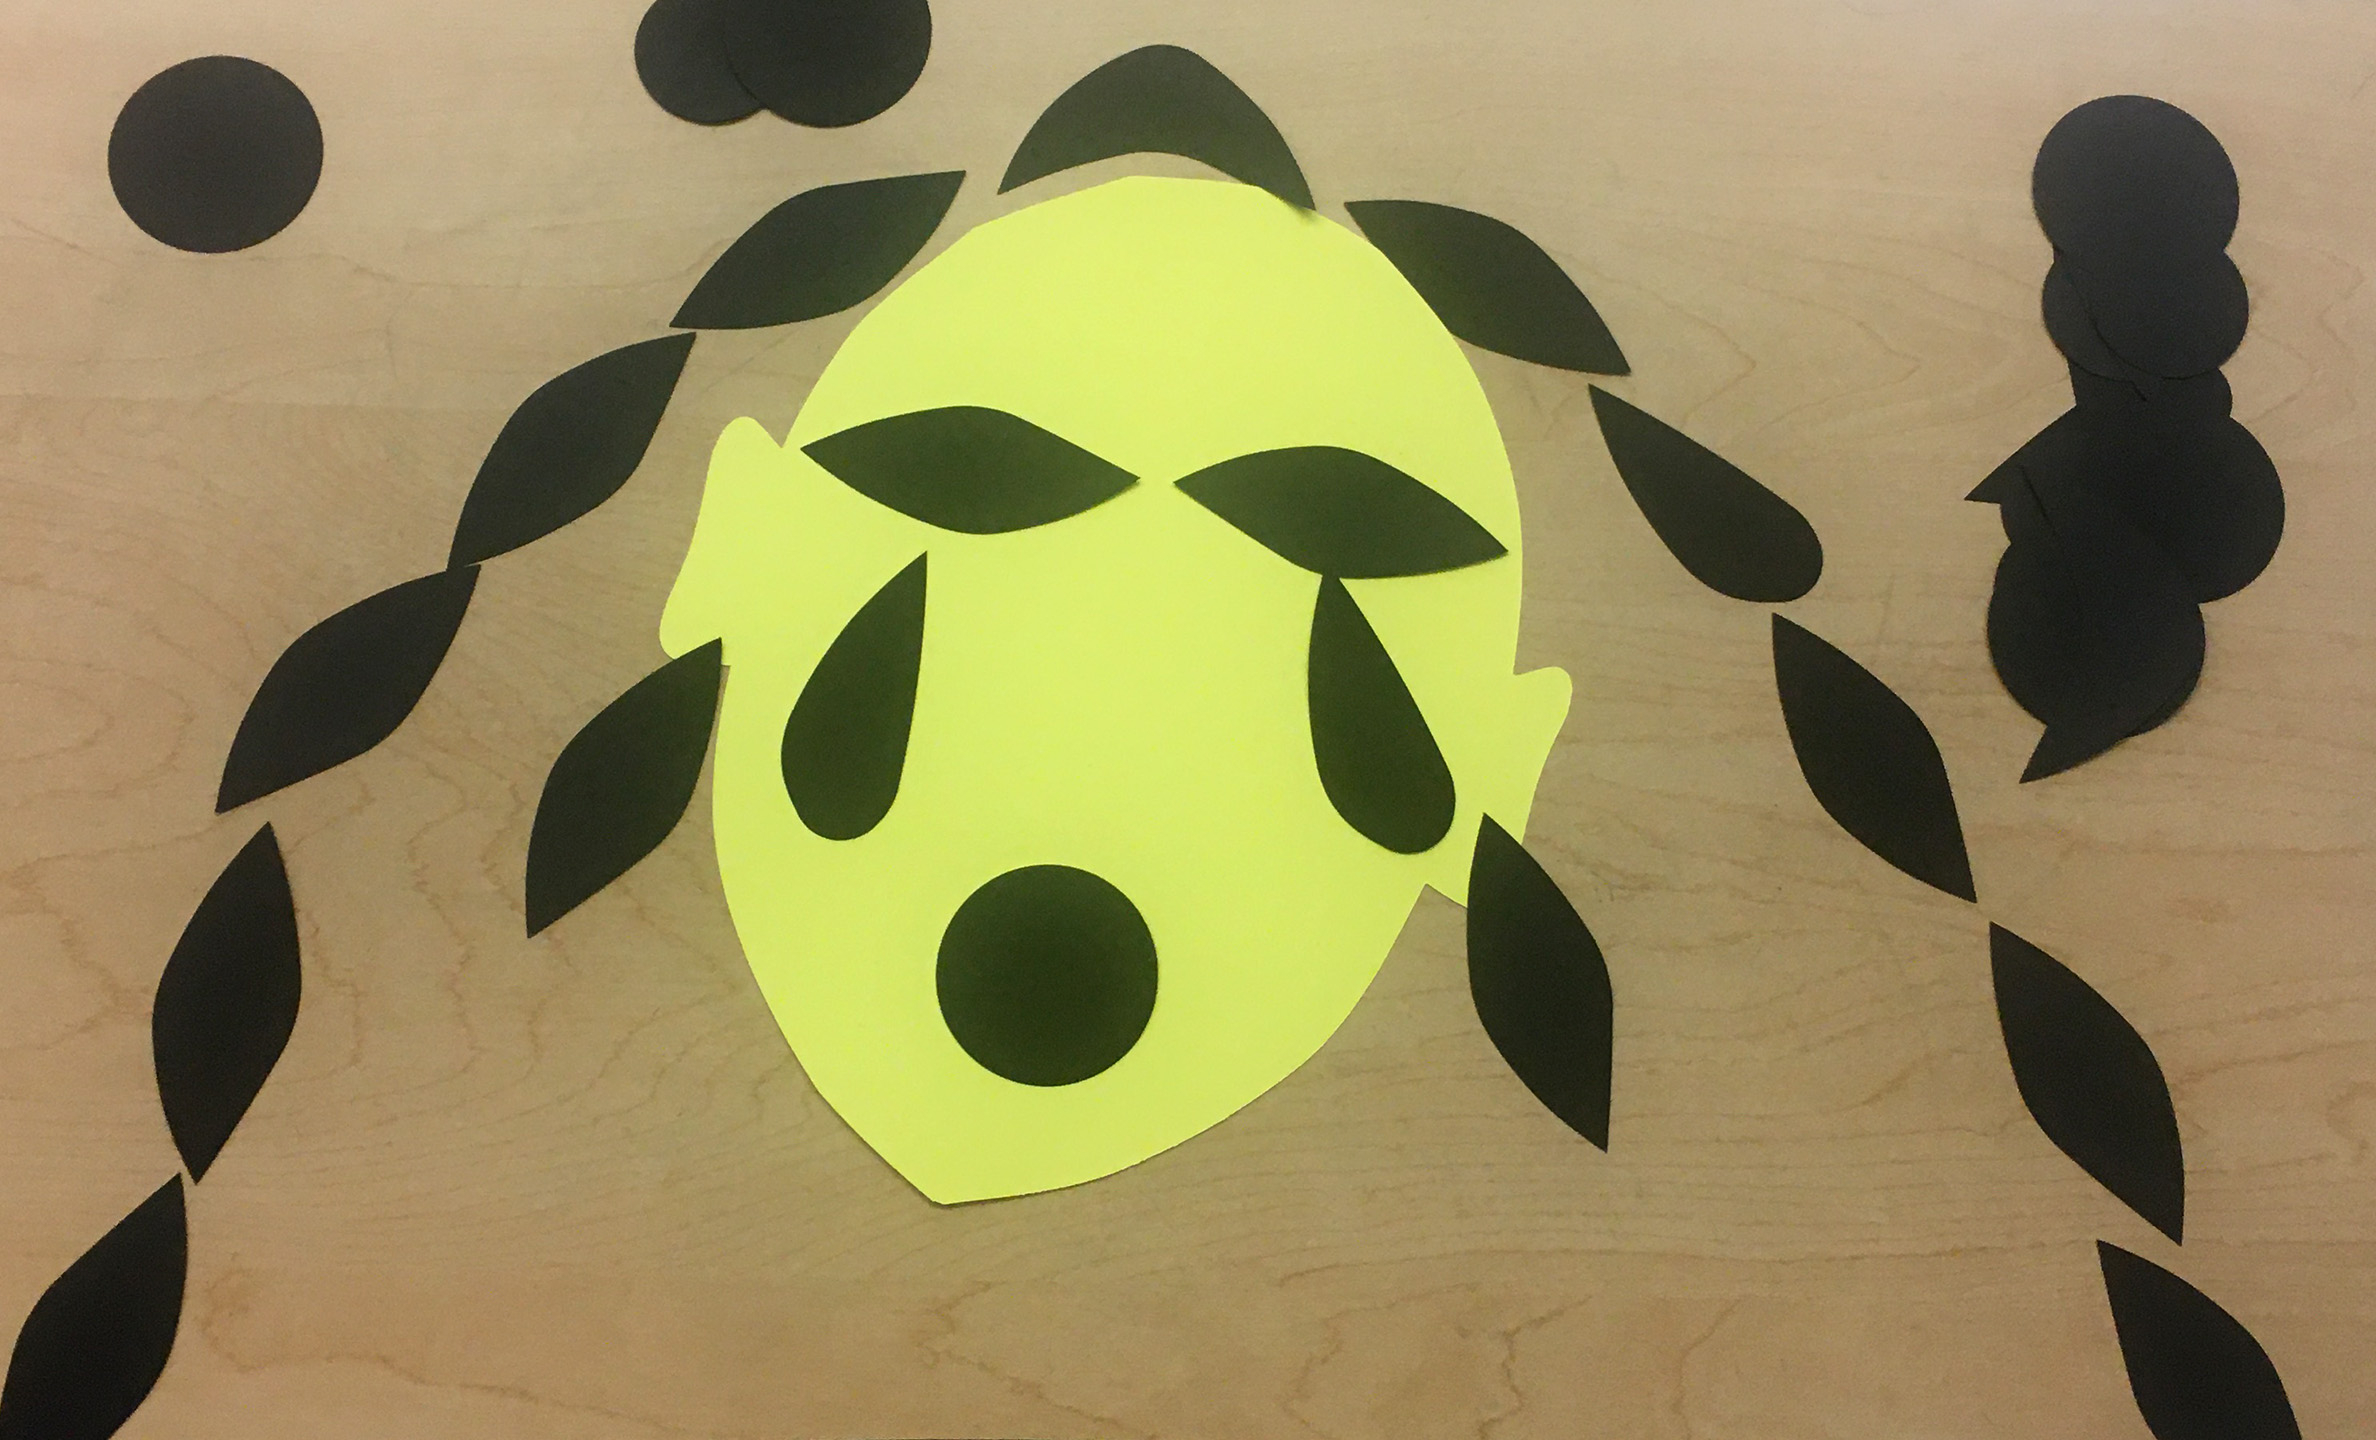
Option 2- Collage a simple expressive face puppet
If your students are collaging 1 puppet face we recommend prepping 2-3 of each of the five shape per child, so that they have a variety to choose from. It is best to put a pile with a variety of shapes at each table to share. Some children will use all 5 shapes and some will use multiples of just one or two shapes offered.
Option 3- Use the 5 shapes as manipulatives!
Laminate a small set of the 5 shapes for kids to experiment with and get ideas for how to draw expressive faces.
Option 5- No prep!
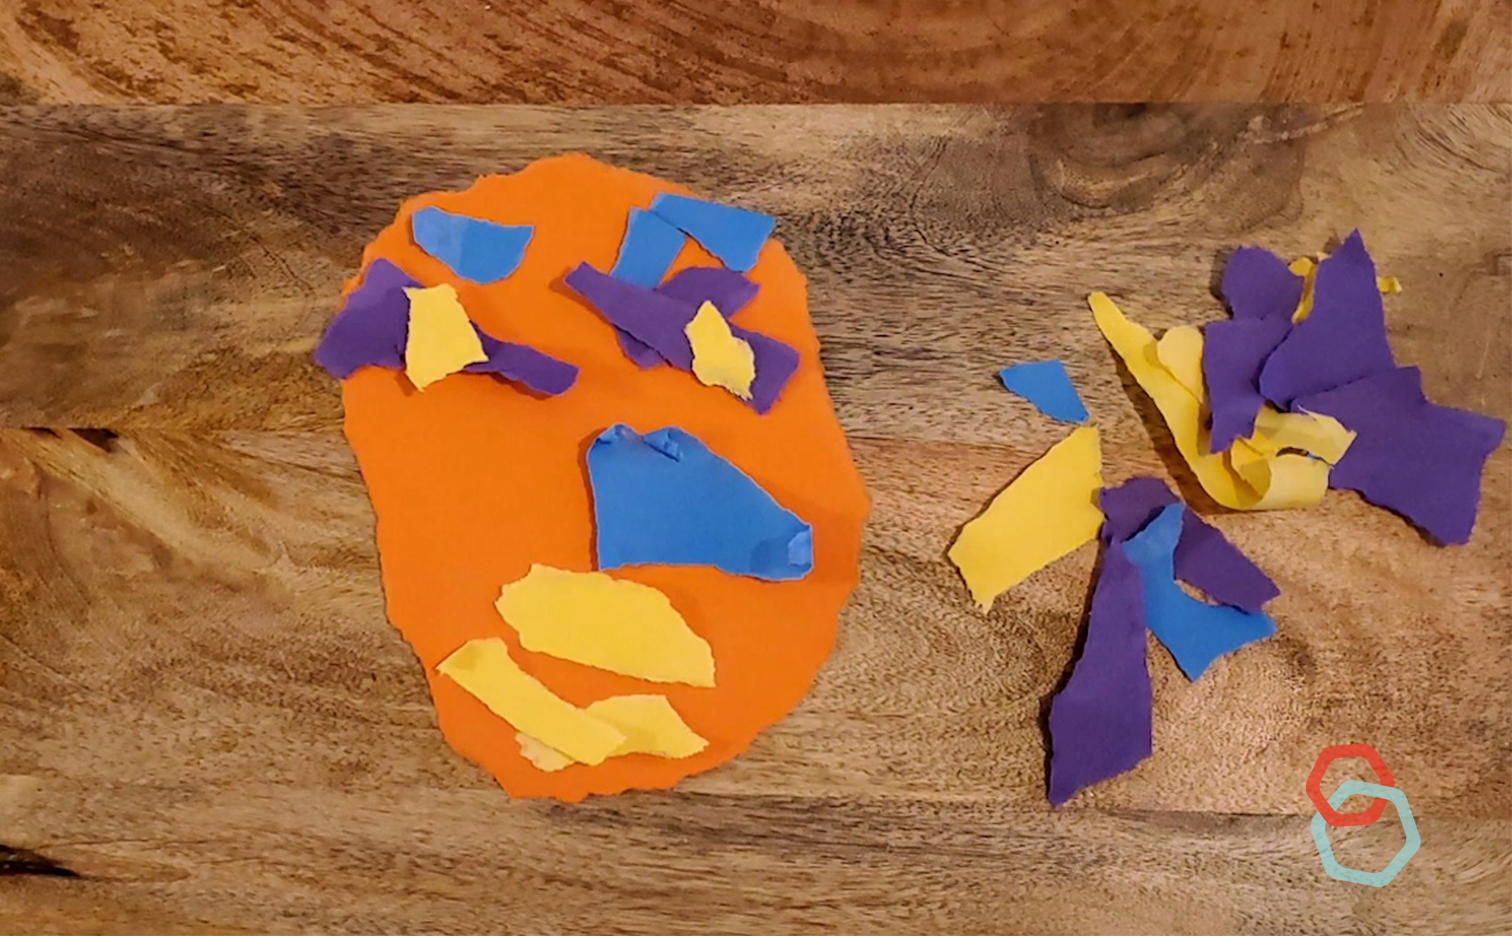
If you don’t want to prep any shapes see the torn paper faces collage activity for another exploratory lesson for making expressive faces.
Option 5- No prep!
If you don’t want to prep any shapes see the torn paper faces collage activity for another exploratory lesson for making expressive faces.
In language and literacy-
Learners will be able to identify shapes. Learners will be able to use adjectives to describe shapes. Learners will be able make connections between shapes and facial features. Learners will be able to describe how facial features convey emotions. Learners will be able to use figurative language to identify how shapes look and what it reminds them of.
In art-making-
Learners will be able to make artistic choices when selecting shapes to make a face depicting various emotions.
See Next Generation Standards here
Danielson Domains-
2a, 2b,
3a,3b,3c,3d,3e
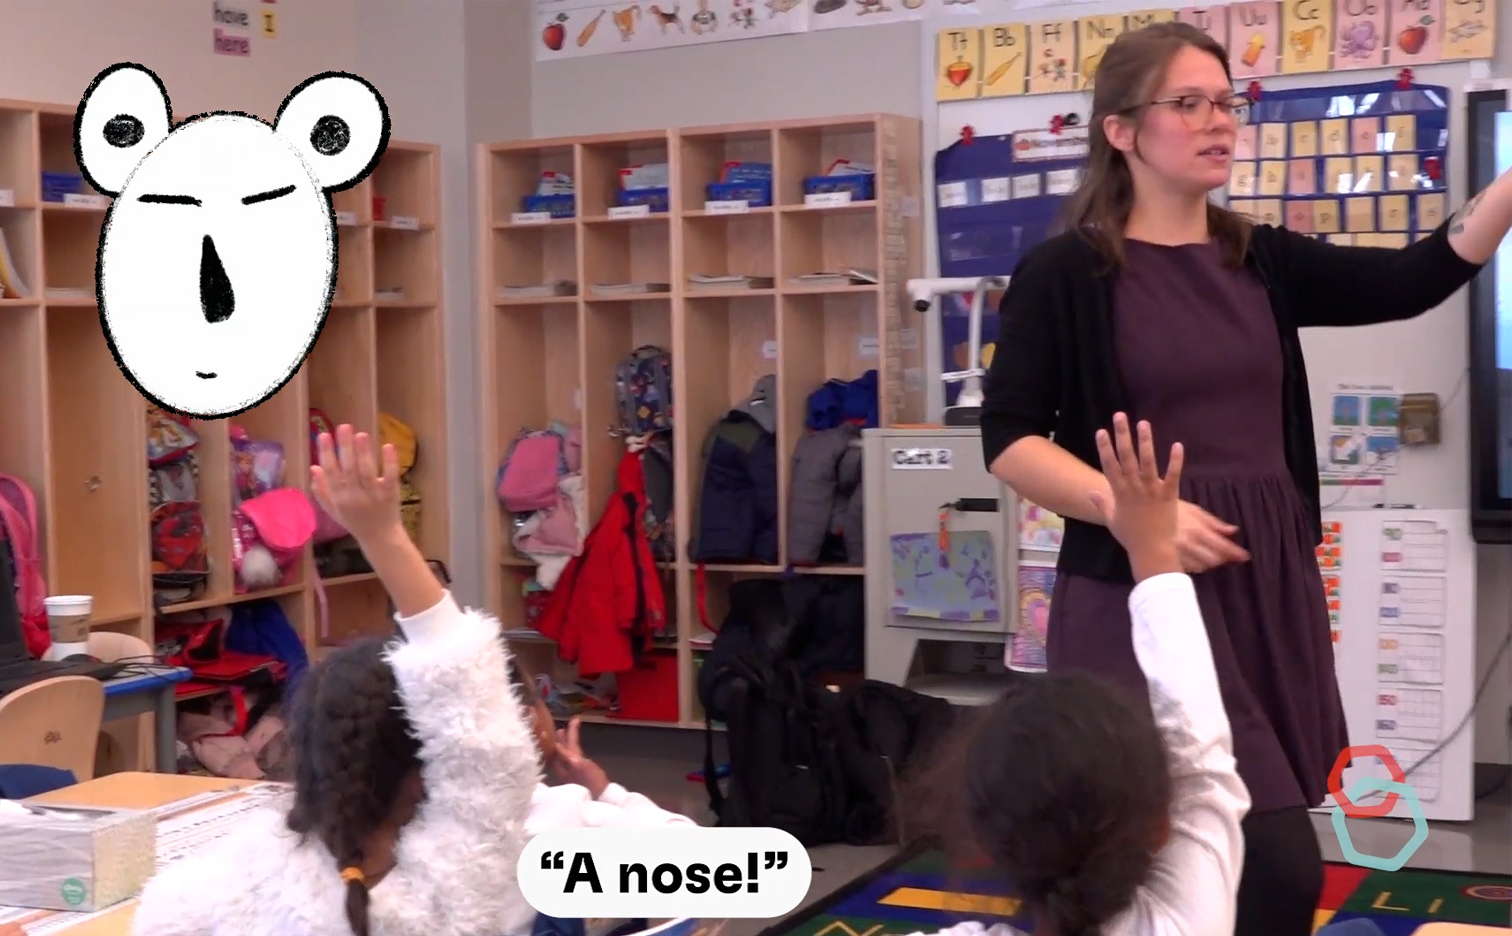
What does this shape remind you of?
What is this shape called?
Is this shape curvy or pointy or both?
Is it big or small?
What is different about these two circles?
How many curves does it have? How many points?”
Are the curves going the same direction or different directions?
(Allow 8-10 minutes for this step)
Invite students to help you make choices about…
Which of the five shapes could I use for my eyes? nose? mouth? eyebrows?
Should I place the almond eye shape so it is horizontal, vertical or tilted?
Do you want me to place the eyes close together or far apart?
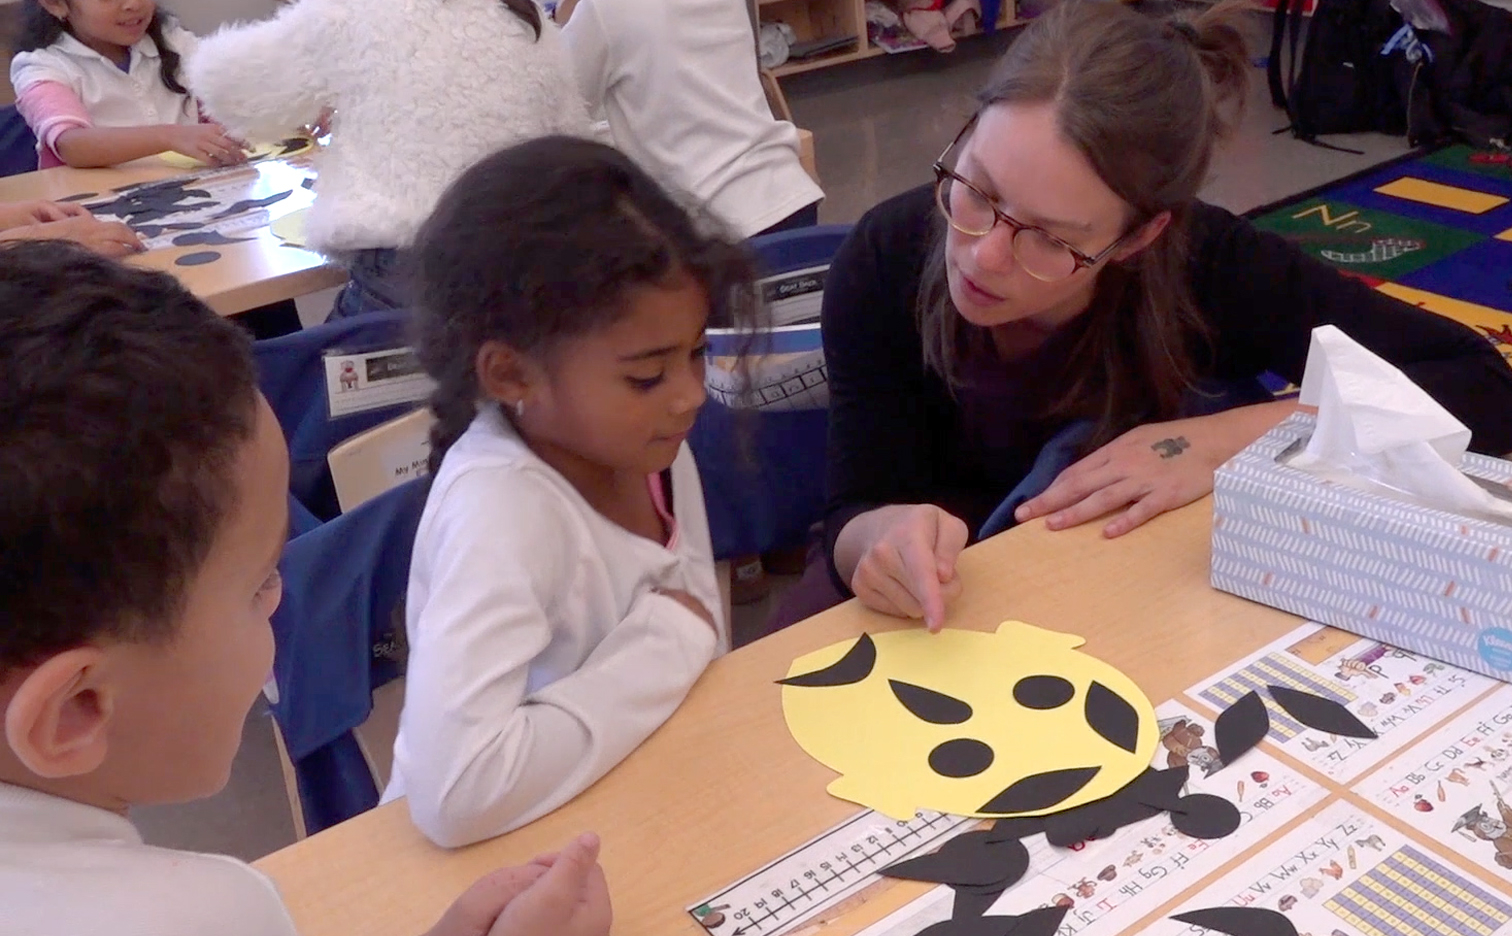
As students offer ideas, add them to your face and model revising by trying a variety of ideas offered by your students.
Once students have chosen eyes, nose, mouth and eyebrows warn the class that we are going to be experimenting with, changing and making lots of faces today.
Let’s experiment to see what happens if we squish the shapes on our face together. What happens if we stretch the shapes apart? What does that change make you imagine about the character and how they are feeling?
What happens if we tilt the Eyebrows? What if we tilt the other way? What if we change the direction of the mouth? Eyes? Nose? What does that change make you imagine about the character and how they are feeling?
What happens if we change the shape of our nose? What happens if we change the mouth shape? Eyes? What does that change make you imagine about the character and how they are feeling?”
(optional) What happens if we change just one of the eyes? What happens if we change one of the eyebrows? What does making your face uneven make you imagine about the character and how they are feeling?
Say: We are going to make as many different faces as we can today! When you’re done with one face you can go 1-2-3 dump (dump your sample face) and start over again!
My kids didn’t want to do all these guided exploration prompts! They just wanted to get started!
Great! Shorten or skip the exploratory activities. Keep an eye out for that one kid who is not sure how to begin and go use the exploratory activities with them one-on-one, as needed!
It was challenging to describe kids’ artistic choices in with specificity and enthusiasm
Try using the Describing Tool for 5 Shapes Collage or the Describing Tool for Torn Paper Collage as a support
It was amazing! What else can I do with this!
Make a 2 face puppet
Use to inspire character drawings with facial expressions
Have the kids make a face everyday (without glue) to show how they are feeling